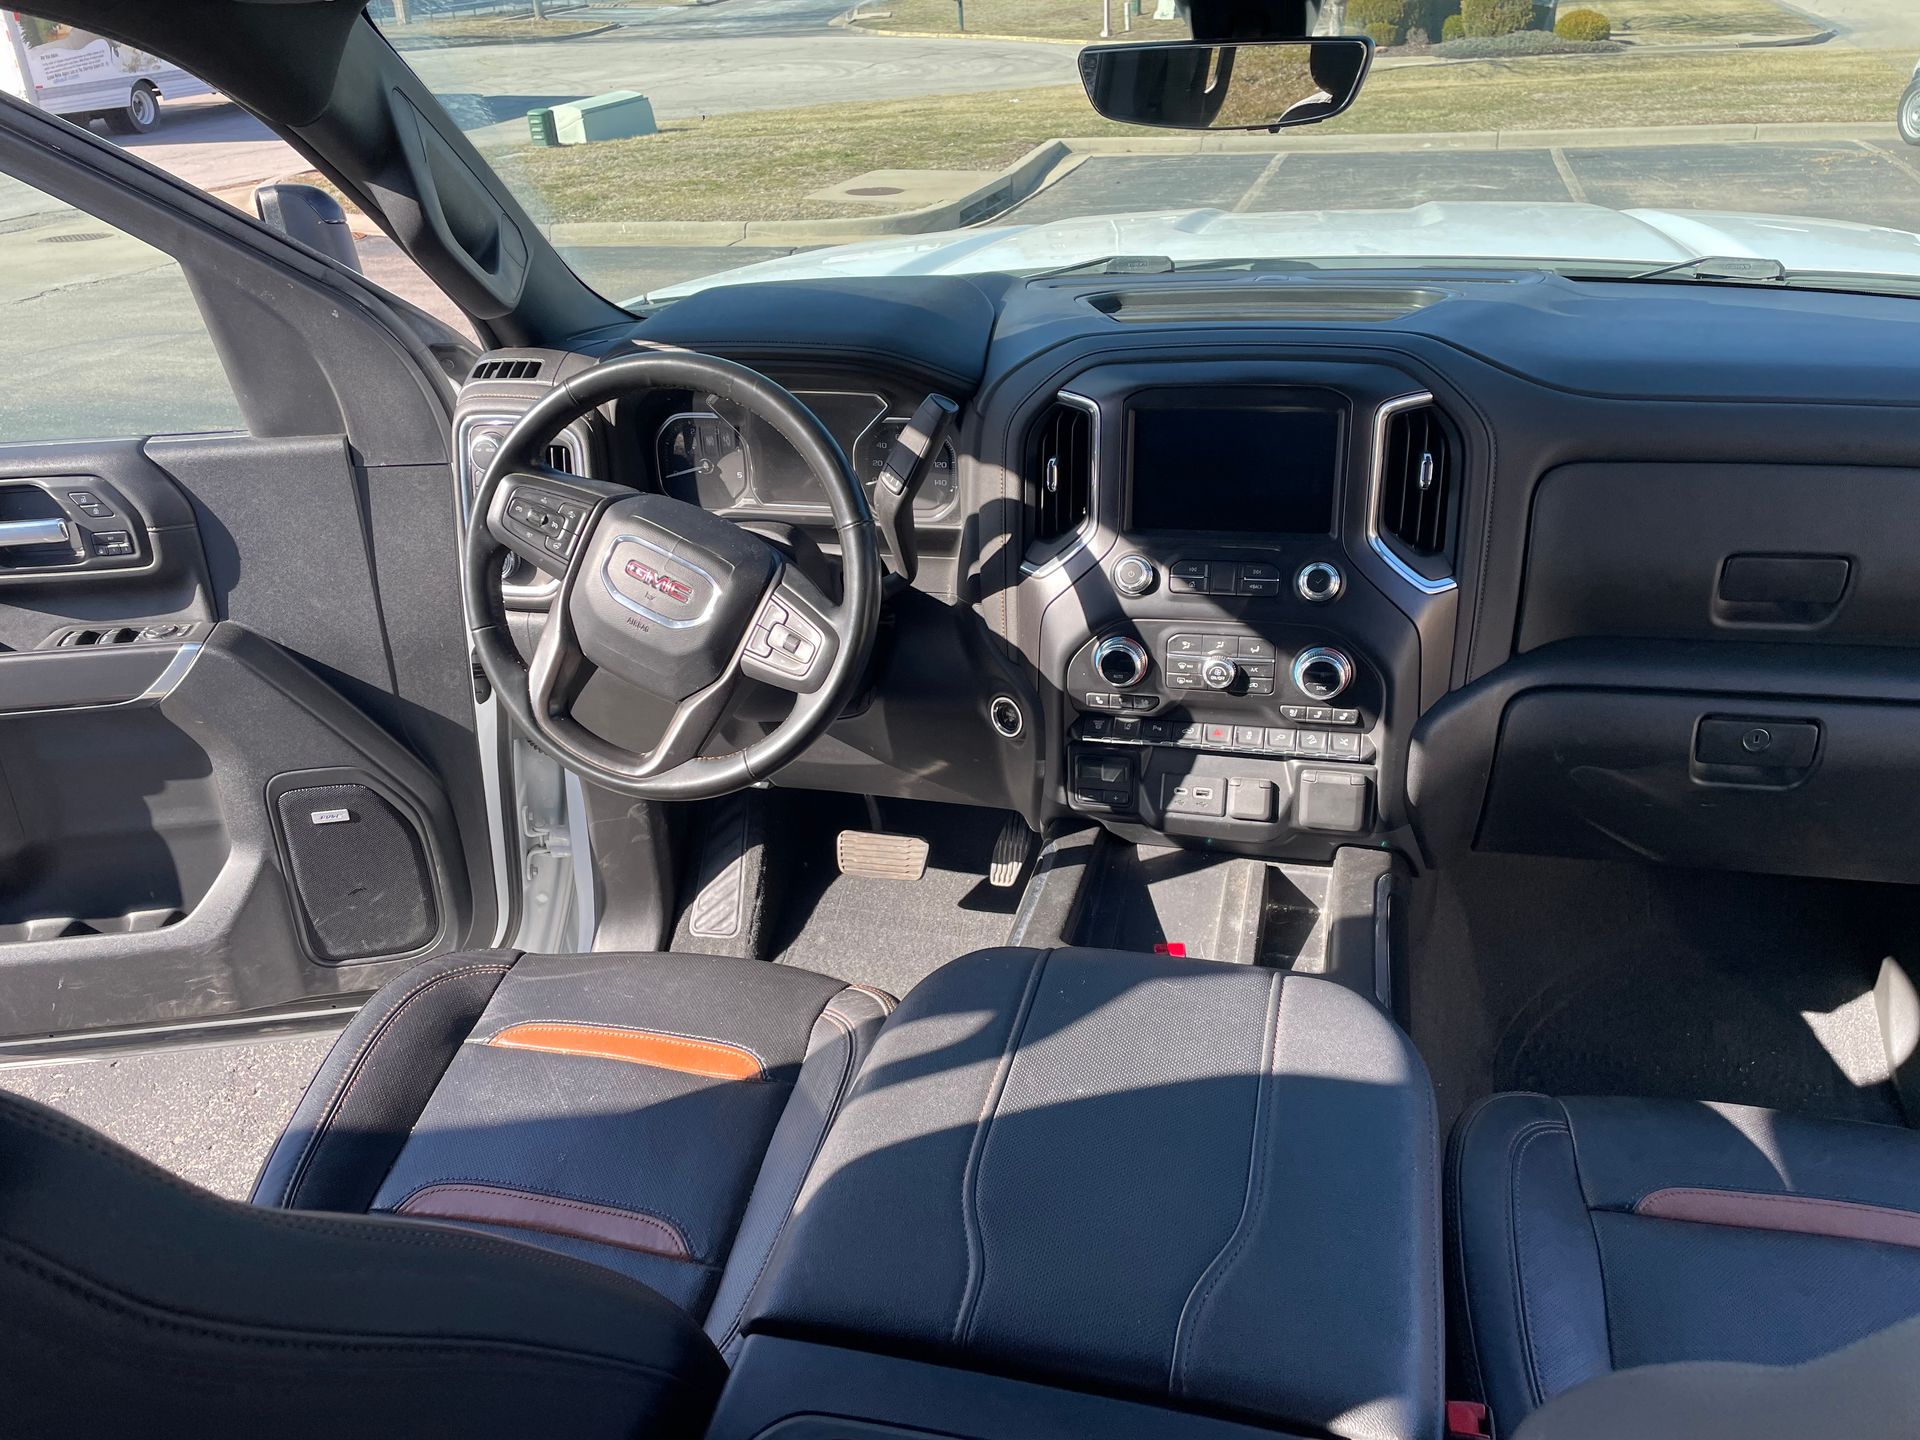
How To Clean Center Console In Car: Expert Tips From Kansas Auto Detailing Pros
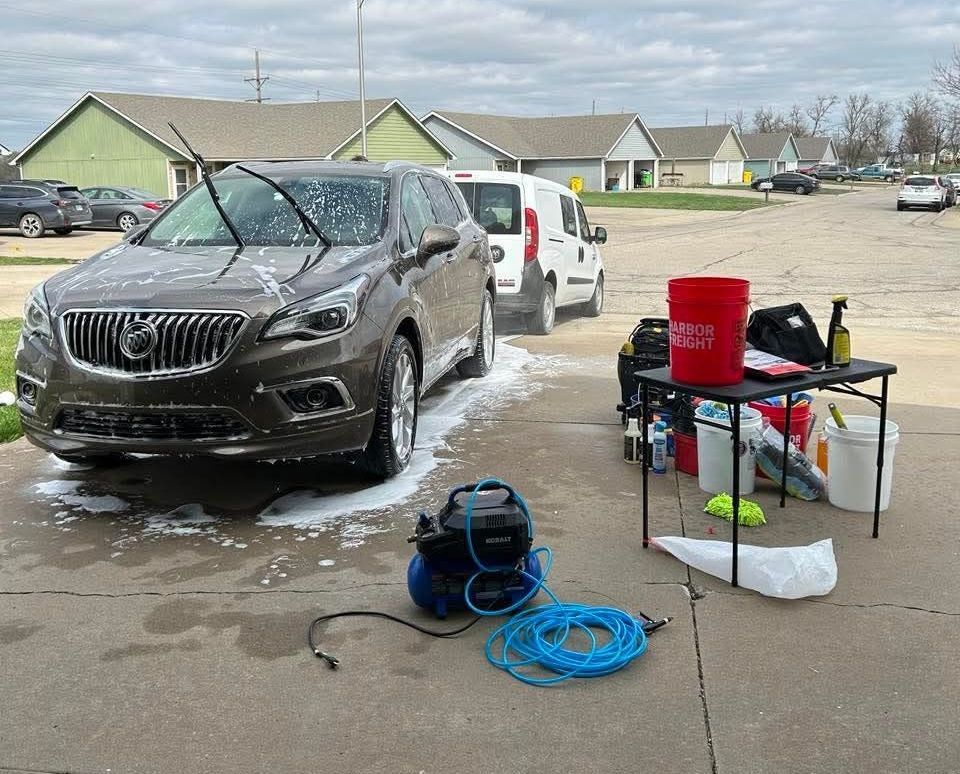
Your car's center console endures daily abuse from coffee spills, food crumbs, and accumulated dust. As a professional Overland Park car detailing service based in Olathe, we've seen countless neglected consoles transform from sticky messes into pristine surfaces that enhance the driving experience. A thorough center console cleaning requires a combination of the right tools, appropriate cleaning solutions, and careful attention to detail, focusing on buttons, crevices, and hard-to-reach areas.
The center console houses essential controls and storage spaces that you interact with every time you drive. Regular cleaning prevents the buildup of harmful bacteria and maintains the value of your vehicle. At Smooth Auto Detailing, we understand that Kansas weather brings unique challenges to keeping your car's interior clean, from summer dust to winter salt residue.
Professional detailing expertise makes a significant difference in achieving a truly clean console. While basic wipe-downs help, getting into those tight spaces between buttons and around gear shifters requires specialized tools and techniques that protect your car's delicate surfaces while removing stubborn grime.
Key Takeaways
- Professional-grade cleaning solutions and proper tools ensure safe and effective console cleaning
- Regular maintenance prevents permanent damage and preserves your vehicle's resale value
- Deep cleaning techniques target hidden dirt in buttons, crevices, and storage compartments
Essential Tools and Products for Cleaning Your Center Console
The right combination of tools and cleaning products makes a dramatic difference in achieving professional-level results when detailing your car's center console. Professional-grade materials protect delicate surfaces while removing stubborn dirt and grime effectively.
Choosing the Right Detailing Brush
A quality detailing brush serves as your primary tool for reaching tight spaces and removing embedded debris. Select brushes with soft synthetic bristles to prevent scratching delicate surfaces.
Natural boar hair brushes work exceptionally well on leather and vinyl surfaces, providing gentle yet effective cleaning action.
For intricate areas like air vents and button surrounds, use detail brushes with angled heads measuring 1-2 inches wide.
Keep multiple brush sizes on hand - a 3-inch brush for larger areas and smaller 1-inch brushes for precision work.
Selecting Quality Microfiber Cloths
Premium microfiber cloths with a minimum of 300 GSM (grams per square meter) deliver superior cleaning performance and durability.
Use different colored cloths to designate specific tasks - blue for cleaning solutions, white for drying, red for dirty areas.
Look for split microfiber weave patterns, which create more surface area for trapping dirt and moisture.
Store clean microfiber cloths in sealed containers to prevent contamination. Replace cloths that show signs of wear or decreased absorbency.
Safe Cleaners and Interior-Safe Solutions
Choose pH-neutral cleaners specifically formulated for automotive interiors. Avoid all-purpose household cleaners that can damage surfaces.
Recommended cleaning solutions:
- Water-based interior cleaners
- Isopropyl alcohol (diluted to 70%) for stubborn stains
- Specialized plastic and vinyl cleaners
Test all products on an inconspicuous area first. Apply cleaners to your cloth rather than directly on surfaces to prevent oversaturation.
Never use silicone-based products on steering wheels or frequently touched surfaces, as they can create dangerous slick spots
Step-by-Step Guide to Deep Cleaning the Center Console
A thorough cleaning of your car's center console requires specific tools and methodical attention to detail. The right approach ensures every surface gets pristine while protecting delicate components from damage.
Preparing the Area and Removing Debris
Start by gathering essential supplies: a detailing brush, microfiber cloths, interior cleaner, and plastic trim restorer. Remove all items from storage compartments and cup holders.
Use compressed air to blow out loose debris from cracks and crevices. This prevents scratching surfaces during the cleaning process.
Vacuum thoroughly around the console area with a narrow attachment. Pay special attention to the edges where the console meets the seats.
Essential Tools:
- Soft-bristled detailing brush
- Compressed air canister
- Vacuum with crevice tool
- Interior cleaner
- Multiple microfiber cloths
Cleaning Cup Holders and Compartments
Spray interior cleaner into cup holders and let it sit for 30 seconds to break down sticky residue.
Use a detailing brush in circular motions to agitate dirt in cup holders. A microfiber cloth wrapped around the brush helps reach deeper.
Wipe down storage compartments with a damp microfiber cloth. Clean the hinges and edges with careful attention.
For stubborn stains, apply cleaner directly to your brush rather than the surface. This prevents oversaturation of materials.
Detailing Buttons, Crevices, and Hard-to-Reach Spots
Dampen a detailing brush lightly with interior cleaner. Gently clean around buttons and controls with precise strokes.
Use the brush bristles to remove dirt from tight spaces between buttons. Never spray cleaner directly onto electronic controls.
Clean air vent slats individually with a dry detailing brush. Work from top to bottom to avoid pushing dirt deeper inside.
Wrap a microfiber cloth around a plastic trim tool to clean narrow gaps between panels.
Wiping Down and Drying Surfaces
Apply interior cleaner to a clean microfiber cloth rather than directly on surfaces. Wipe in straight lines across flat areas.
Use separate dry microfiber cloths for removing excess moisture and buffing surfaces to a clean finish.
Work systematically from top to bottom of the console. This prevents cleaned areas from being contaminated again.
Consider applying a plastic protectant to prevent UV damage and maintain a clean appearance longer.
Advanced Methods and Tips for Professional Results
Professional-grade cleaning requires specialized techniques and tools that target deeply embedded dirt while protecting delicate surfaces. These advanced methods deliver superior results that last longer and maintain the console's pristine appearance.
Steam Cleaning Techniques for the Center Console
Steam cleaning penetrates deep into crevices and kills bacteria without harsh chemicals. Set your steam cleaner between 180-200°F for optimal results.
Use quick bursts of steam while holding a microfiber cloth nearby to catch loosened debris. Work in small 2-3 inch sections.
Key areas to target:
- Button surrounds
- Gear shift base
- Cup holder rims
- Storage compartment edges
Let surfaces cool for 30 seconds between steam applications to prevent heat damage.
Using Detailing Picks and Specialty Tools
A professional detailing brush set allows precise cleaning of tight spaces. Select brushes with different bristle stiffness for various surfaces.
Essential tools:
- Soft-bristled detailing brush for vents
- Firm nylon brush for textured plastics
- Plastic picks for seam cleaning
- Mini vacuum attachments
Start with gentler tools first, progressing to firmer bristles only if needed. Test brushes on an inconspicuous area before full application.
Applying UV Protectants and Conditioners
Apply a water-based protectant using a foam applicator pad. Avoid silicone-based products that can leave a greasy residue.
Work the product into the surface using gentle circular motions with a clean microfiber cloth. Pay special attention to frequently touched areas.
Remove excess product after 5 minutes to prevent attracting dust. Apply a second thin coat for maximum protection in areas with direct sunlight exposure.
Reapply protection every 3-4 months to maintain optimal results.
Maintaining a Clean Center Console in Olathe's Climate
Olathe's distinct seasonal changes and temperature fluctuations create specific challenges for keeping your car's center console pristine. The local climate's mix of humidity, heat, and winter conditions requires targeted cleaning strategies and protective measures.
Developing a Regular Cleaning Routine
Start with a weekly quick-wipe using a microfiber cloth and mild interior cleaner to remove surface dust and debris. This prevents buildup in hard-to-reach areas.
Pay special attention to cup holders - Kansas summers mean more drinks and increased risk of sticky residue. Use a small detailing brush to clean corners and crevices.
During spring pollen season, increase cleaning frequency to twice per week. Use compressed air to blast out vents and tight spaces where yellow dust accumulates.
For deeper monthly cleanings, remove items from storage compartments and use interior cleaning wipes designed for automotive surfaces. Focus on high-touch areas like armrests and gear shifters.
Protecting Against Heat and Sun Damage
Apply a UV-protective coating to vinyl and plastic surfaces every 3 months. This prevents cracking and fading from intense Kansas summer sun exposure.
Park in covered areas when possible, especially during peak UV hours between 10am and 4pm. Consider using a windshield sun shade to reduce interior temperatures.
Place silica gel packets in console storage areas during humid months to prevent moisture buildup. Replace them every 60-90 days.
Pro tip: Apply a ceramic coating to glossy console surfaces to resist fingerprints and maintain a clean appearance longer in Olathe's dusty conditions.
Use dashboard covers or console protectors during extreme temperature periods. This helps prevent material warping that commonly occurs in the local climate.

Want to advertise your local business on our blog content?
Reach out to learn about partnering with us!