How To Clean Crevices In Car: Professional Tips From Kansas Auto Detailing Experts
Maintaining a spotless car interior goes beyond basic vacuuming and wiping down surfaces. Those tiny gaps between seats, dashboard crevices, and air vent slots collect dust, crumbs, and debris that can make your vehicle look untidy despite regular cleaning. Professional Shawnee car detailing focuses on these often-overlooked areas using specialized tools and techniques to remove built-up grime from every nook and cranny.
At Smooth Auto Detailing, serving Shawnee, KS, we understand the challenge of reaching these tight spaces. Small particles and dirt accumulate over time, creating unsightly buildup that affects both appearance and air quality. Our experienced team uses proven methods to restore these hidden areas to like-new condition.
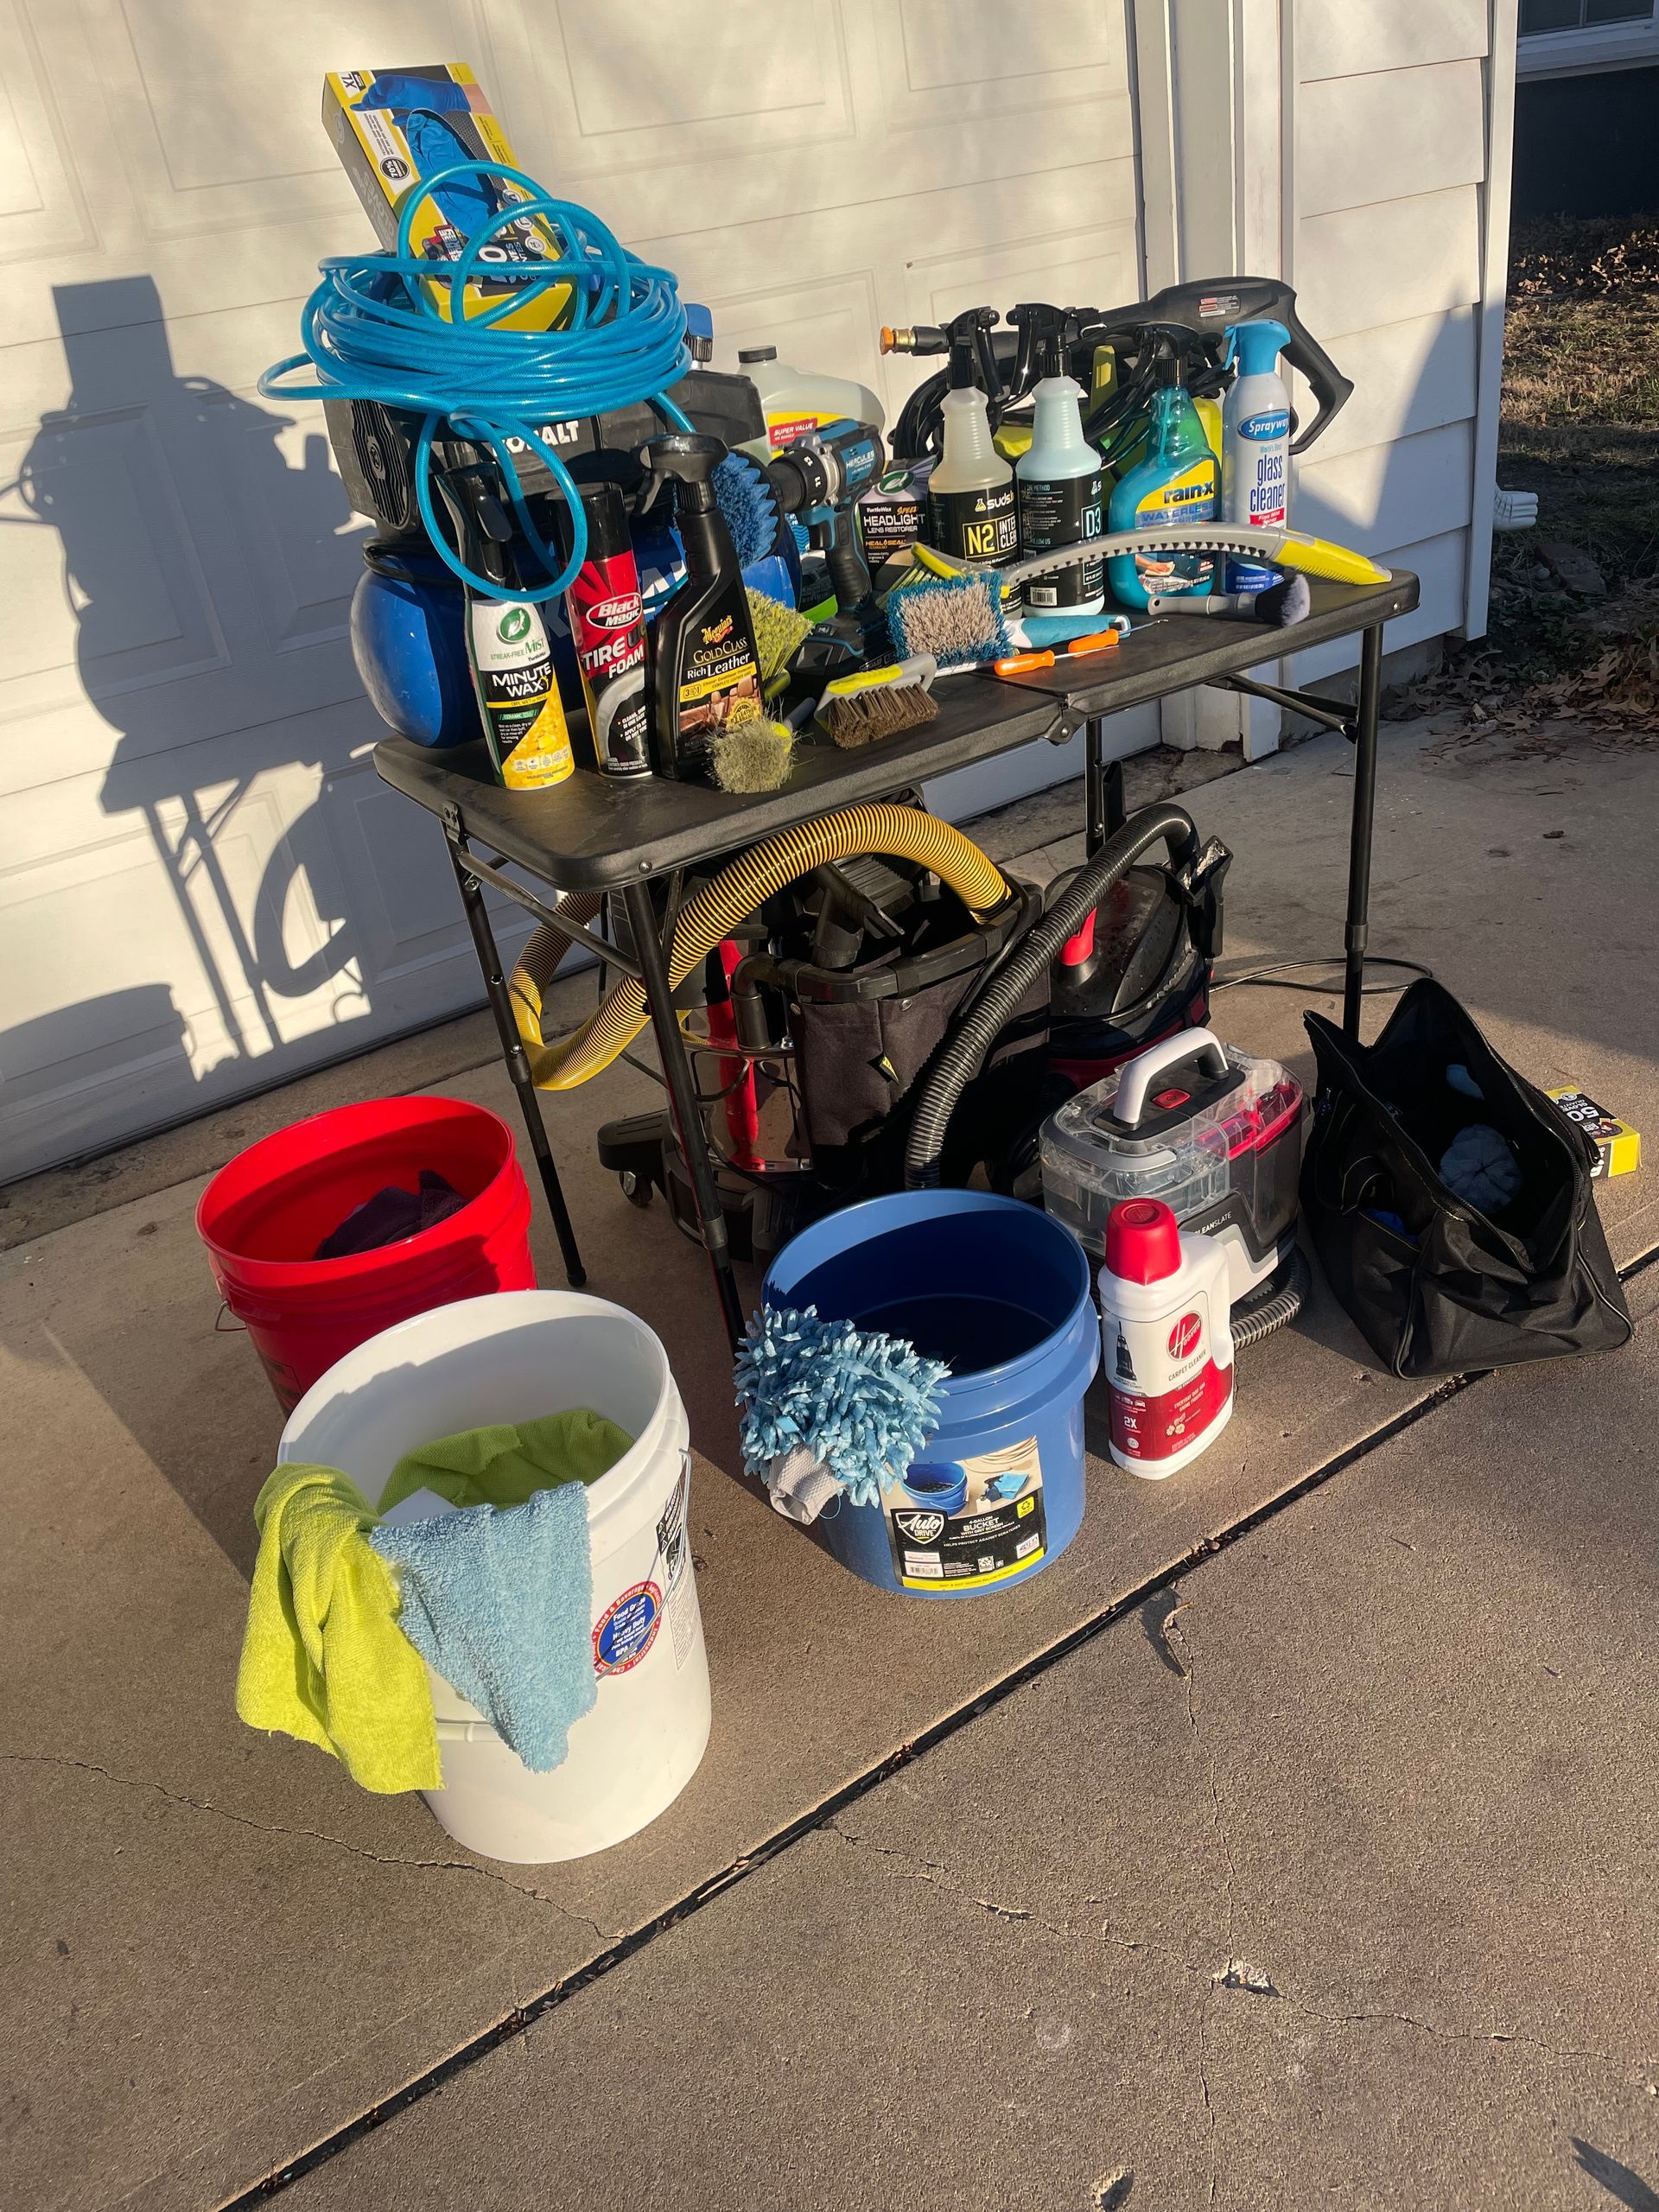
Getting your car's crevices truly clean requires the right combination of tools and expertise. From compressed air to detail brushes and specialized vacuum attachments, each tool serves a specific purpose in accessing and cleaning these difficult spots—just one of the many ways Shawnee car detailing helps your vehicle look and feel refreshed.
Key Takeaways
- Professional-grade tools and proper technique are essential for thorough crevice cleaning
- Regular maintenance of interior cracks prevents long-term buildup and preserves vehicle value
- Specialized cleaning methods for different surfaces ensure safe and effective results
Essential Tools and Products for Cleaning Car Crevices
Professional-grade tools and specialized cleaning products make a significant difference in reaching and removing dirt from your vehicle's tight spaces. The right combination of tools ensures thorough cleaning while protecting your car's surfaces.
Choosing the Right Brushes and Detailing Picks
Detail brushes with soft bristles protect delicate surfaces while reaching deep into crevices. Look for brushes with varying sizes, from 1/4 inch to 2 inches wide.
Select picks and tools with plastic or rubber tips to prevent scratching interior surfaces. A set of detailing picks helps remove debris from seams and tight corners.
Compressed air tools provide a quick way to blast out dust and dirt from vents and narrow spaces. Use them before brushing to prevent debris from becoming more deeply embedded.
Benefits of Microfiber Towels for Tight Areas
High-quality microfiber towels with at least 300 GSM (grams per square meter) capture more dirt and dust than standard cloths.
Split-fiber technology in premium microfiber towels reaches deeper into textured surfaces and crevices.
Small, thin microfiber cloths work best for tight spaces. Consider cutting larger towels into smaller pieces for better control in narrow areas.
Recommended Cleaning Solutions and Safe Products
Interior-Safe Cleaners:
- Water-based all-purpose cleaners
- Specialized vinyl and plastic cleaners
- Non-greasy dashboard dressings
Cleaning gel compounds mold to irregular shapes and pull dirt from hard-to-reach spots. Store these in airtight containers between uses.
Avoid alcohol-based products on leather or sensitive surfaces. Test new cleaning solutions on a small, hidden area first.
Use pH-neutral cleaners to protect interior materials while effectively removing dirt and grime.
Step-by-Step Method for Cleaning Car Crevices
Professional car detailing requires attention to the smallest spaces where dirt, dust, and debris accumulate. A systematic approach with the right tools ensures every crevice receives proper cleaning attention.
Preparing the Area for Optimal Results
Remove all items from your vehicle before starting the cleaning process. This creates better access to all surfaces and prevents items from getting wet.
Gather essential tools: vacuum with crevice attachments, compressed air, detail brushes, microfiber towels, and an all-purpose cleaner.
Test your cleaning solution on a small, hidden area first to ensure it won't damage surfaces.
Work in a shaded area to prevent cleaning solutions from drying too quickly. The ideal temperature range is 60-80°F.
Techniques for Interior Crevice Cleaning
Start with a thorough vacuum using the crevice tool attachment. Focus on seat tracks, console edges, and dashboard gaps.
Use compressed air to blast out stubborn debris from tight spaces. Always wear eye protection during this step.
Apply cleaning solution to a detail brush - never spray directly into crevices. This prevents excess moisture buildup.
Gently scrub each crevice with the detail brush, working from top to bottom. Use different sized brushes for various gaps.
Wipe clean with a microfiber towel, folded to create a precise edge for reaching into narrow spaces.
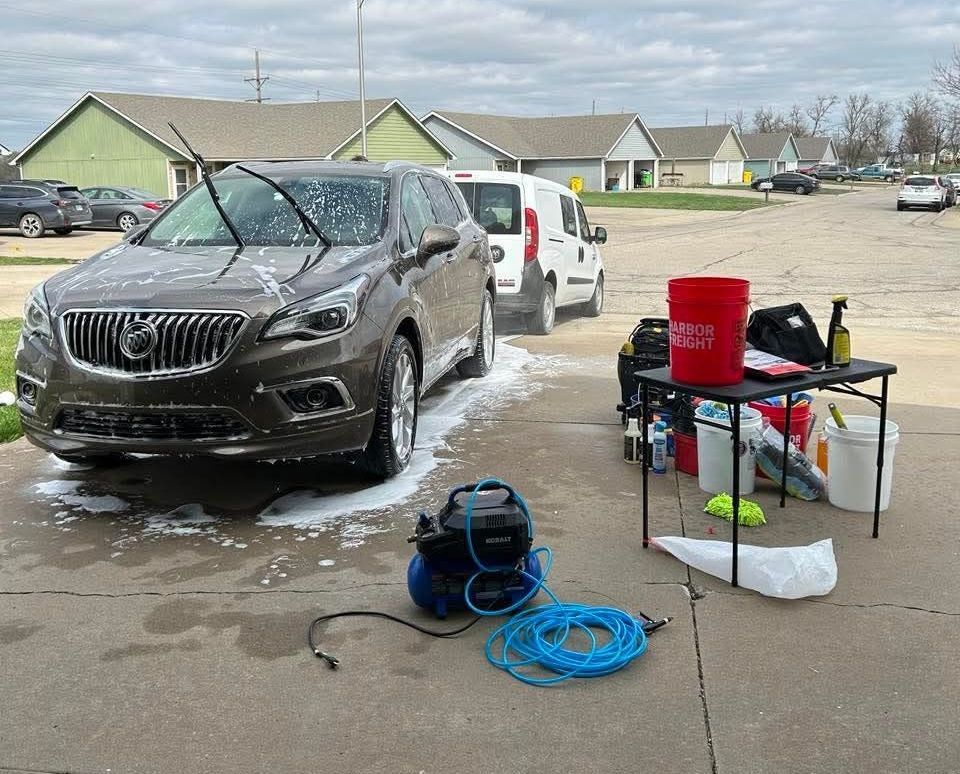
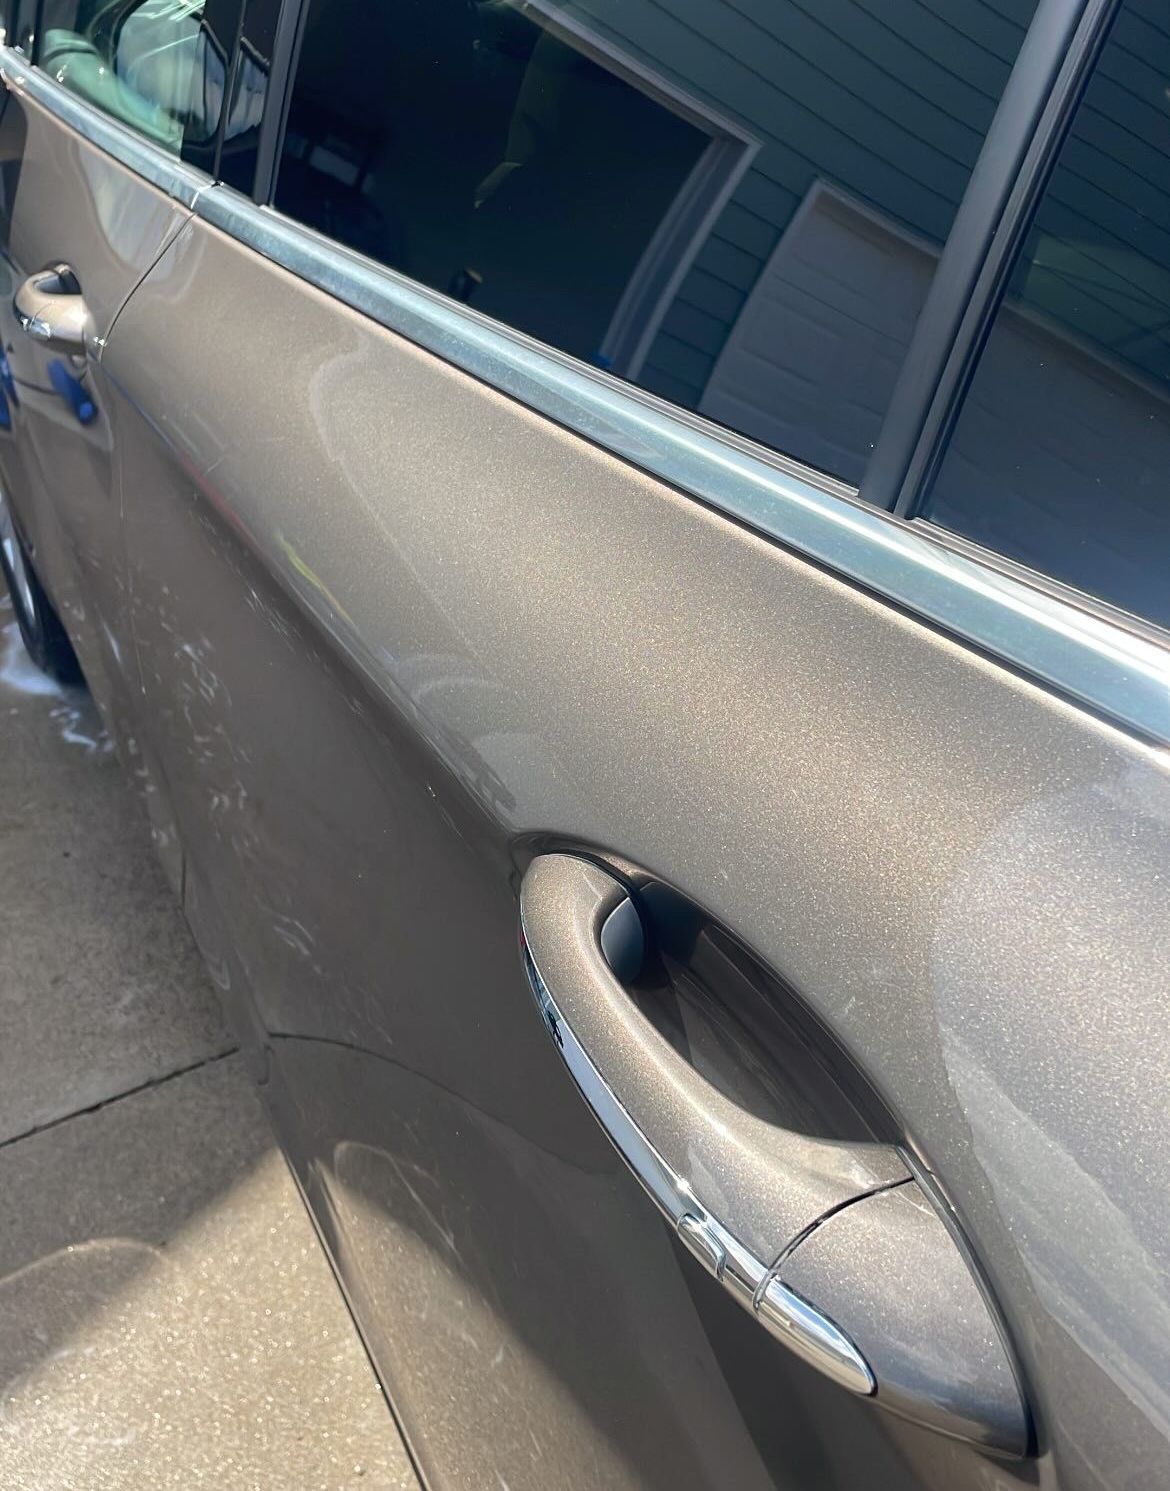
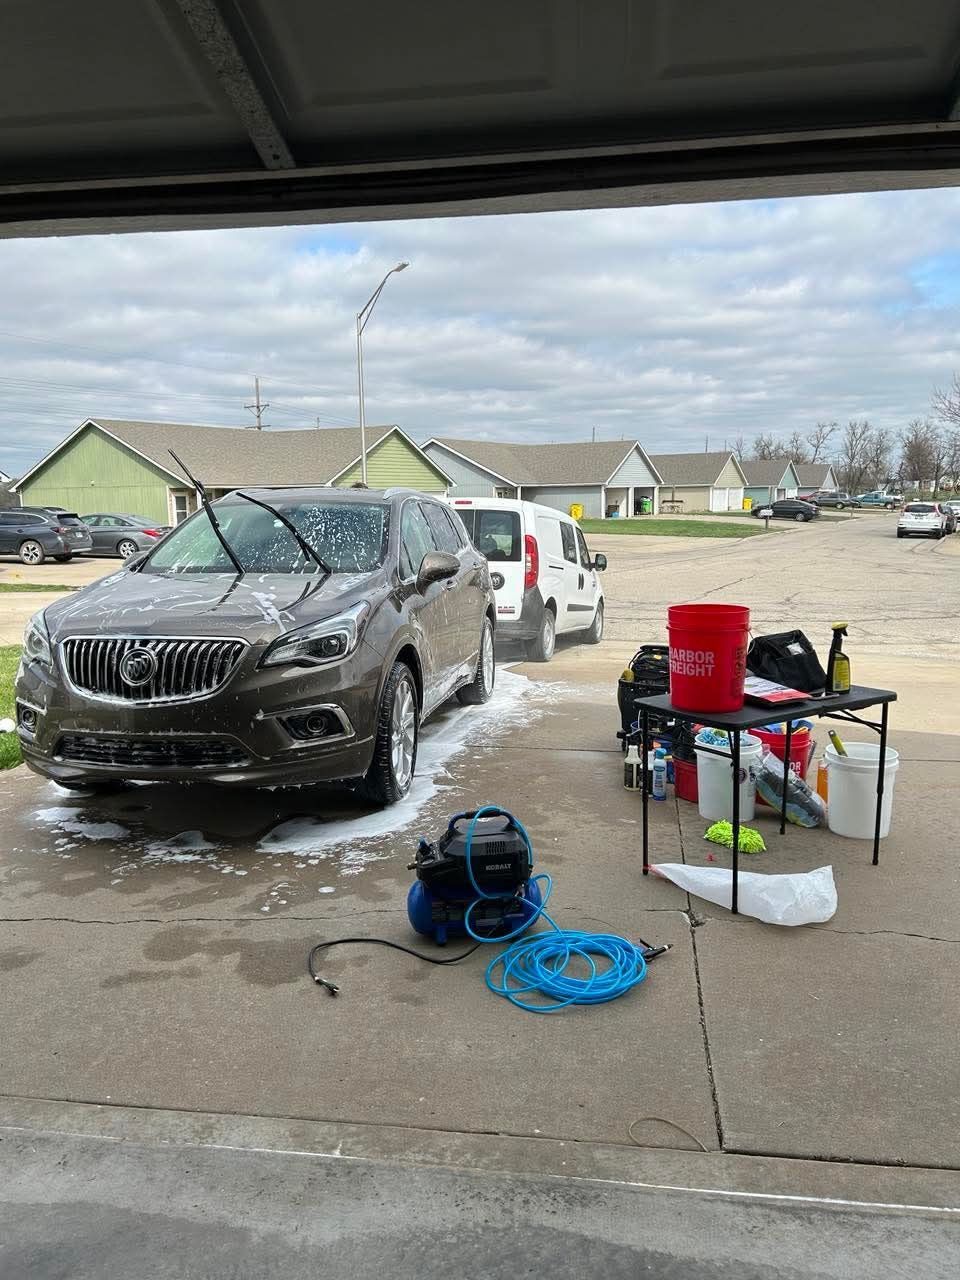
Approaches for Exterior Trim and Panel Gaps
Clean exterior crevices from top to bottom to prevent dirty runoff from contaminating already cleaned areas.
Use a soft-bristled detail brush to remove loose dirt from trim pieces and panel gaps.
Apply appropriate cleaning solutions based on surface material - plastic trim cleaners for plastic, paint-safe solutions for painted areas.
Work in small sections, immediately drying with a clean microfiber towel to prevent water spots.
Pay special attention to areas around headlights, taillights, and door handles where dirt often accumulates.
Advanced Tips for Detailing Hard-to-Reach Spots
Professional car detailing requires specialized techniques and tools to access those challenging spots that often collect dirt and grime. These targeted methods ensure a thorough clean in every nook and cranny of your vehicle.
Using Compressed Air or Steam for Stubborn Debris
An air compressor set to 80-90 PSI provides powerful cleaning action for tight spaces. Direct short bursts of air into crevices to dislodge trapped dirt and dust particles.
Steam cleaners operating at 180-200°F break down stubborn grime while sanitizing surfaces. Use a fine-tipped attachment for precision cleaning around trim pieces and seat tracks.
Essential Tools:
- Air compressor with detail nozzle
- Professional-grade steam cleaner
- Microfiber towels to catch loosened debris
Keep the nozzle 2-3 inches from surfaces to prevent damage. Work systematically from top to bottom to avoid redistributing dirt.
Detailing Around Dashboard Buttons and Vents
Small detailing brushes with soft bristles effectively clean intricate dashboard controls without scratching. Use light circular motions to lift dust from button edges.
Pro Technique: Apply interior cleaner to the brush rather than directly on controls to prevent liquid seepage into electrical components.
Recommended Tools:
- Detail brushes in various sizes
- Plastic trim tools
- Interior cleaner formulated for electronics
Start with dry brushing to remove loose particles. Follow up with a lightly dampened brush for stuck-on residue.
Use cotton swabs to clean individual vents and narrow gaps between buttons. Finish by wiping surfaces with a clean microfiber cloth to remove any remaining cleaner.
Maintaining a Clean Finish and Preventing Build-Up
Regular maintenance prevents stubborn dirt accumulation in your vehicle's crevices and helps preserve the pristine appearance of trim and seams.
Setting Up a Regular Crevice Cleaning Routine
Clean your car's crevices every 2-4 weeks to prevent dirt from becoming compacted and difficult to remove.
Start each cleaning session by using compressed air to blow out loose debris from seams and tight spaces. This prevents scratching during the wiping process.
Use a soft detailing brush with gentle bristles to agitate dirt in corners and along trim edges. Work in small sections to ensure thorough cleaning.
Keep microfiber towels specifically designated for crevice cleaning. Fold them into small points to reach tight spaces effectively.
Sealing and Protecting Trim After Cleaning
Apply a UV-resistant trim protectant to seal cleaned surfaces and prevent future dirt accumulation. Focus on rubber seals and plastic trim pieces.
Use applicator pads designed for trim work to ensure even coverage. Small foam brushes work well for precise application in narrow spaces.
Let protective products cure for 24 hours before exposing the vehicle to rain or washing. This maximizes the durability of the protective barrier.
Reapply trim sealant every 3-4 months, adjusting the frequency based on how often the vehicle is exposed to harsh weather conditions.

Want to advertise your local business on our blog content?
Reach out to learn about partnering with us!